今回は認証機能について解説します。
Webアプリ作成においてまず必要となる認証機能ですが、Laravelでは標準で用意されており、簡単に機能を実装することができます。
まずはデータベースを準備します。
【データベース作成】
[.env]
DB_CONNECTION=mysql
DB_HOST=127.0.0.1
DB_PORT=3306
DB_DATABASE= {データベース名}
DB_USERNAME= {ユーザ名}
DB_PASSWORD= {パスワード}
設定が完了したら新規データベースを上で設定した{データベース名}で作成しておきます。
【authコマンドの実行】
認証機能を作成します。
コマンドラインでプロジェクトに移動します。
cd C:/xampp/htdocs/test
ここで下記コマンドを実行します。
php artisan make:auth
上記コマンドを実行すると、以下が追加されます。
①web.phpにルート追加
routes/web.phpに以下が追加されます。
Auth::routes();
これで認証機能に必要なルートがすべて使用可能となります。
もう少し詳細に説明すると、Authファサードを通してIlluminate\Routing\Routerのauthメソッドを呼び出しています。
[Router.php]
   public function auth(array $options = [])
    {
        ## ログイン用のルート
        // Authentication Routes...
        $this->get('login', 'Auth\LoginController@showLoginForm')->name('login');
        $this->post('login', 'Auth\LoginController@login');
        $this->post('logout', 'Auth\LoginController@logout')->name('logout');

        ## ユーザ登録用のルート
        // Registration Routes...
        if ($options['register'] ?? true) {
            $this->get('register', 'Auth\RegisterController@showRegistrationForm')->name('register');
            $this->post('register', 'Auth\RegisterController@register');
        }

        // Password Reset Routes...
        if ($options['reset'] ?? true) {
            $this->resetPassword();
        }

        // Email Verification Routes...
        if ($options['verify'] ?? false) {
            $this->emailVerification();
        }
    }

    /**
     * Register the typical reset password routes for an application.
     *
     * @return void
     */
    public function resetPassword()
    {
        ## パスワードリセット用のルート
        $this->get('password/reset', 'Auth\ForgotPasswordController@showLinkRequestForm')->name('password.request');
        $this->post('password/email', 'Auth\ForgotPasswordController@sendResetLinkEmail')->name('password.email');
        $this->get('password/reset/{token}', 'Auth\ResetPasswordController@showResetForm')->name('password.reset');
        $this->post('password/reset', 'Auth\ResetPasswordController@reset')->name('password.update');
    }

    /**
     * Register the typical email verification routes for an application.
     *
     * @return void
     */
    public function emailVerification()
    {
        ## メール認証用のルート
        $this->get('email/verify', 'Auth\VerificationController@show')->name('verification.notice');
        $this->get('email/verify/{id}', 'Auth\VerificationController@verify')->name('verification.verify');
        $this->get('email/resend', 'Auth\VerificationController@resend')->name('verification.resend');
    }
②認証用のビュー追加
resources/views/authディレクトリに下記ビューファイルが追加されます。
login.blade.phpログイン用のビューregister.blade.phpユーザ登録用のビューverify.blade.phpメール認証の承認用のビューpasswords/email.blade.phpメール認証用のビューpasswords/reset.blade.phpパスワードリセット用のビュー
また、
resources/views/layouts/app.blade.phpに共通レイアウトも追加されます。
これらに対応する認証用コントローラは最初からapp/Http/Controllers/Authディレクトリに用意されています。
LoginController.phpログイン用のコントローラーRegisterController.phpユーザー登録用のコントローラーForgotPasswordController.phpパスワードリセット時のメール送信用のコントローラーResetPasswordController.phpパスワードリセット用のコントローラーVerificationController.phpメール認証の承認用のコントローラー
【DBマイグレーションの実行】
マイグレーションを実行してDBにテーブルを作成します。
database/migrationsディレクトリに最初から下記マイグレーションファイルが用意されています。
2014_10_12_000000_create_users_table.phpユーザテーブル2014_10_12_100000_create_password_resets_table.phpパスワードリセットテーブル
それぞれ中身は以下となります。
[2014_10_12_000000_create_users_table.php]
<?php

use Illuminate\Support\Facades\Schema;
use Illuminate\Database\Schema\Blueprint;
use Illuminate\Database\Migrations\Migration;

class CreateUsersTable extends Migration
{
    /**
     * Run the migrations.
     *
     * @return void
     */
    public function up()
    {
        Schema::create('users', function (Blueprint $table) {
            $table->bigIncrements('id');
            $table->string('name');
            $table->string('email')->unique();
            $table->timestamp('email_verified_at')->nullable();
            $table->string('password');
            $table->rememberToken();
            $table->timestamps();
        });
    }

    /**
     * Reverse the migrations.
     *
     * @return void
     */
    public function down()
    {
        Schema::dropIfExists('users');
    }
}
[2014_10_12_100000_create_password_resets_table.php]
<?php

use Illuminate\Support\Facades\Schema;
use Illuminate\Database\Schema\Blueprint;
use Illuminate\Database\Migrations\Migration;

class CreatePasswordResetsTable extends Migration
{
    /**
     * Run the migrations.
     *
     * @return void
     */
    public function up()
    {
        Schema::create('password_resets', function (Blueprint $table) {
            $table->string('email')->index();
            $table->string('token');
            $table->timestamp('created_at')->nullable();
        });
    }

    /**
     * Reverse the migrations.
     *
     * @return void
     */
    public function down()
    {
        Schema::dropIfExists('password_resets');
    }
}
下記コマンドを実行します。
php artisan migrate
これで必要なテーブルが作成されます。
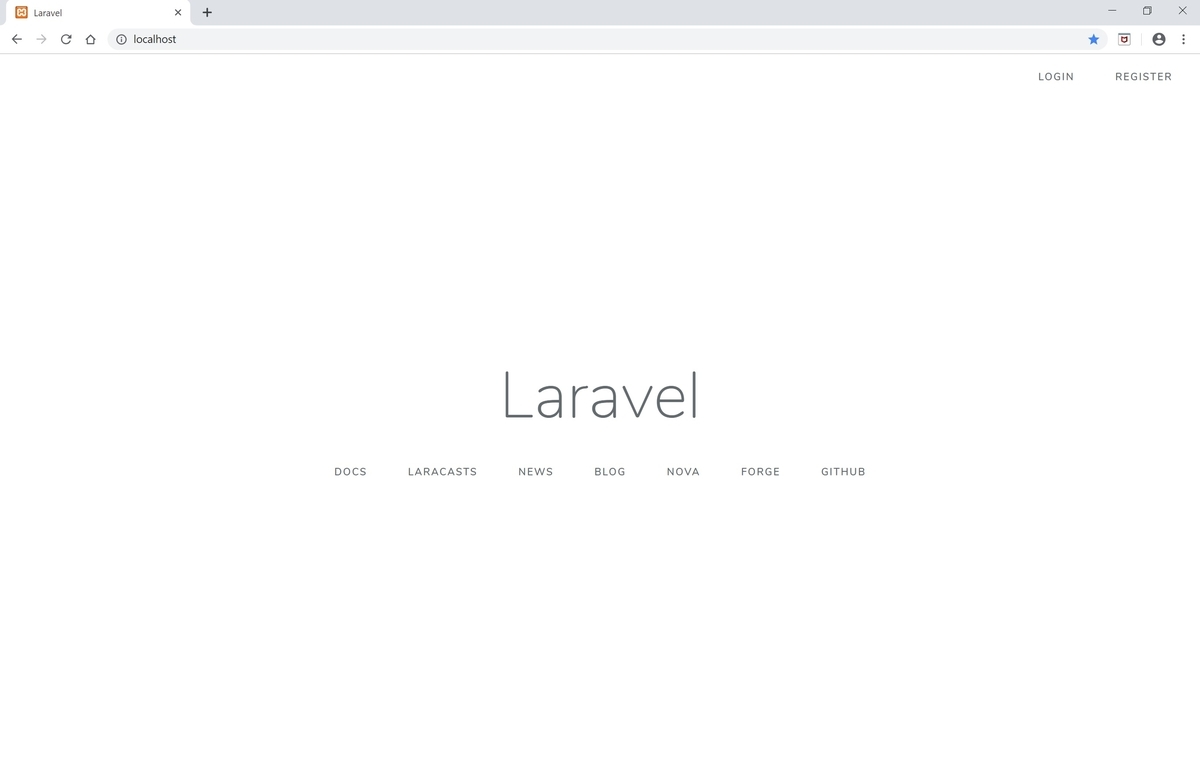
トップページの右上に「LOGIN」「REGISTER」のメニューが追加されます。
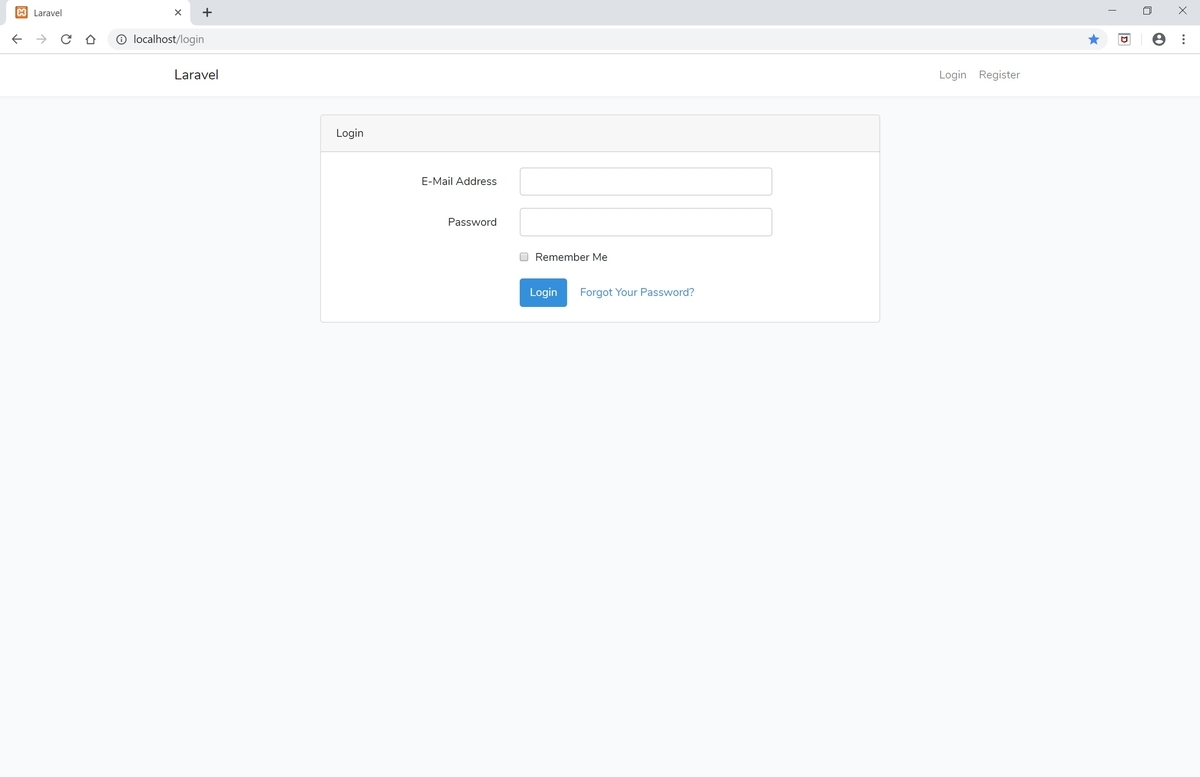
[ログイン画面]
[ユーザ登録画面]
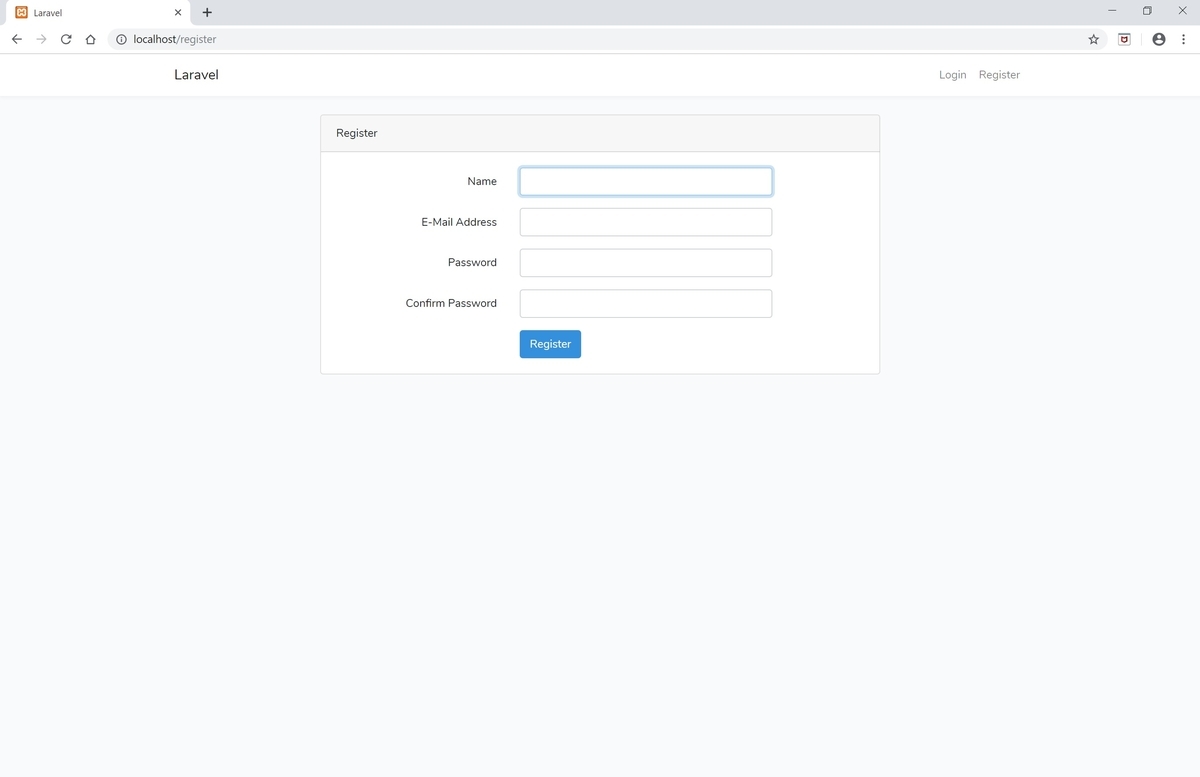
これでLaravel標準の認証機能の実装完了です。
【認証機能のカスタマイズ】
続けて認証機能のカスタマイズについて解説します。
Lalavel標準の認証機能では、デフォルトでemailカラムを認証に利用します。
これをuseridカラムを利用するように変更してみましょう。
テーブルに対象のカラムを追加し、ユーザー登録ビューとログインビューをカスタマイズします。
①DBマイグレーション
usersテーブルにuseridカラムを追加します。
まずは更新用のマイグレーションファイルを作成します。
下記コマンドを実行。
php artisan make:migration update_users_table
作成されたマイグレーションファイルを修正します。
[xxxx_update_users_table.php]
<?php

use Illuminate\Support\Facades\Schema;
use Illuminate\Database\Schema\Blueprint;
use Illuminate\Database\Migrations\Migration;

class UpdateUsersTable extends Migration
{
    /**
     * Run the migrations.
     *
     * @return void
     */
    public function up()
    {
        ## useridカラムを追加
        Schema::table('users', function (Blueprint $table) {
            $table->string('userid')->unique()->after('email');
        });
    }

    /**
     * Reverse the migrations.
     *
     * @return void
     */
    public function down()
    {
        ## down用の定義も追加しておく
        Schema::table('users', function (Blueprint $table) {
            $table->dropColumn('userid');
        });
    }
}
マイグレーションを実行する。
php artisan migrate
これでusersテーブルにuseridカラムが追加されます。
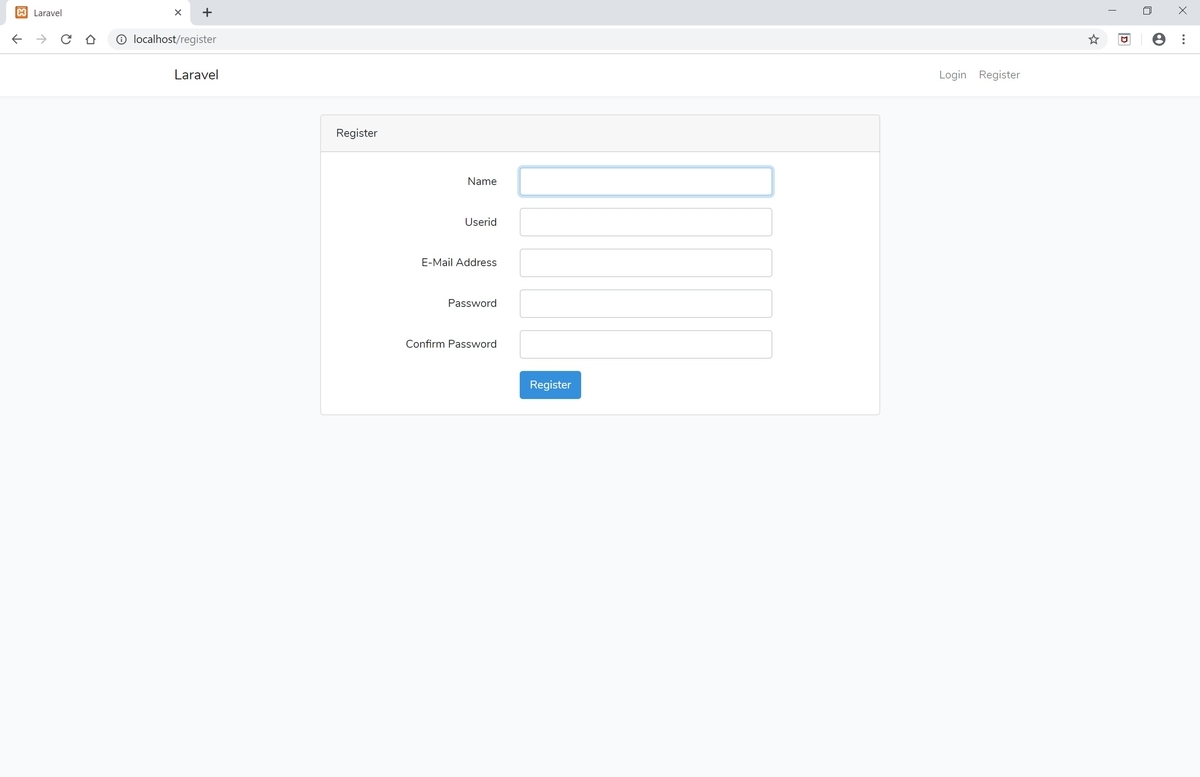
②ユーザ登録ビューのカスタマイズ
次にユーザ登録ビューに入力項目を追加します。
resources/views/auth/register.blade.phpにuseridを追加する。
name欄をコピーすると楽です。
[register.blade.php]
<div class="form-group row">
    <label for="userid" class="col-md-4 col-form-label text-md-right">{{ __('userid') }}</label>

    <div class="col-md-6">
        <input id="userid" type="text" class="form-control{{ $errors->has('userid') ? ' is-invalid' : '' }}"
                              name="userid" value="{{ old('userid') }}" required>

        @if ($errors->has('userid'))
            <span class="invalid-feedback" role="alert">
                <strong>{{ $errors->first('userid') }}</strong>
            </span>
        @endif
    </div>
</div>
③コントローラーのカスタマイズ
レコードを登録する部分である、app/Http/Controllers/Auth/RegisterController.phpのcreateメソッドにuseridを追加します。
[RegisterController.php]
protected function validator(array $data)
{
    return Validator::make($data, [
        'name' => ['required', 'string', 'max:255'],
        'email' => ['required', 'string', 'email', 'max:255', 'unique:users'],
        'userid' => $data['userid'], ## 追加
        'password' => ['required', 'string', 'min:8', 'confirmed'],
    ]);
}
④fillableプロパティに項目追加
createメソッドは、フォームなどからの予期せぬ一括代入を防ぐために、$fillableプロパティで代入できる項目を制限しています。
app/User.phpの$fillableプロパティにuseridを追加する必要があります。
[User.php]
protected $fillable = [
    'name', 'email', 'userid', 'password',
];
⑤ログインビューのカスタマイズ
続いてログイン用のビューをカスタマイズします。
resources/views/auth/login.blade.phpのemail欄をuserid欄に変更します。
[login.blade.php]
## email欄をコメントアウト
<!-- <div class="form-group row">
    <label for="email" class="col-md-4 col-form-label text-md-right">{{ __('E-Mail Address') }}</label>

    <div class="col-md-6">
        <input id="email" type="email" class="form-control{{ $errors->has('email') ? ' is-invalid' : '' }}" name="email" value="{{ old('email') }}" required autofocus>

        @if ($errors->has('email'))
            <span class="invalid-feedback" role="alert">
                <strong>{{ $errors->first('email') }}</strong>
            </span>
        @endif
    </div>
</div> -->

## userid欄を追加
<div class="form-group row">
    <label for="userid" class="col-md-4 col-form-label text-md-right">{{ __('Userid') }}</label>

    <div class="col-md-6">
        <input id="userid" type="userid" class="form-control{{ $errors->has('userid') ? ' is-invalid' : '' }}" name="userid" value="{{ old('userid') }}" required autofocus>

        @if ($errors->has('userid'))
            <span class="invalid-feedback" role="alert">
                <strong>{{ $errors->first('userid') }}</strong>
            </span>
        @endif
    </div>
</div>
ログイン対象カラムを変更するために、app/Http/Controllers/Auth/LoginController.phpでuseridメソッドを定義します。
[LoginController.php]
public function username()
{
    return 'userid';
}

これでuseridカラムを認証に使用できるようにカスタマイズが完了しました。
それぞれのアプリにで利用しやすいようにカスタマイズしていきましょう。
